Move-Out Cleaning Checklist (Free Printable)
Printable move-out checklist: room-by-room sequencing, top-to-bottom order, missed spots, appliance steps, walk-through prep.
Published May 9, 2026
Moving out involves a lot of moving parts, and cleaning is usually the one that causes the most financial stress. From what I have seen, securing a full deposit return requires a strategic approach rather than just scrubbing harder.
We handle these strict property inspections every single day at San Antonio Maid Services. Average security deposit deductions for cleaning in 2025 frequently exceed $500 nationwide for standard rentals.
A single missed spot can cost you dearly.
Let’s look at the exact standards landlords expect, the most critical surfaces to target, and practical ways to protect your money. You can treat this comprehensive guide as your primary move out cleaning checklist.
Master rule: top-to-bottom, back-to-front
Cleaning out of order guarantees you will redo work. Always start at the ceiling and work your way down to the floor, moving from the farthest wall toward the exit. Dust falls, soap drips, and spray drifts downward.
We require our cleaning staff to adhere strictly to this directional method. Skipping this rule leads to frustrating touch-ups and wasted hours. Our sequential framework guarantees a faster finish. Follow this simple process:
- Top to bottom: Clean ceilings, then walls and high surfaces, followed by mid-height areas, and finish with floors.
- Back to front: Start at the wall furthest from the door, and work toward the exit.
The home is empty, so use the open space to your advantage. Walk through every room before starting and mentally map out your back-to-front route.
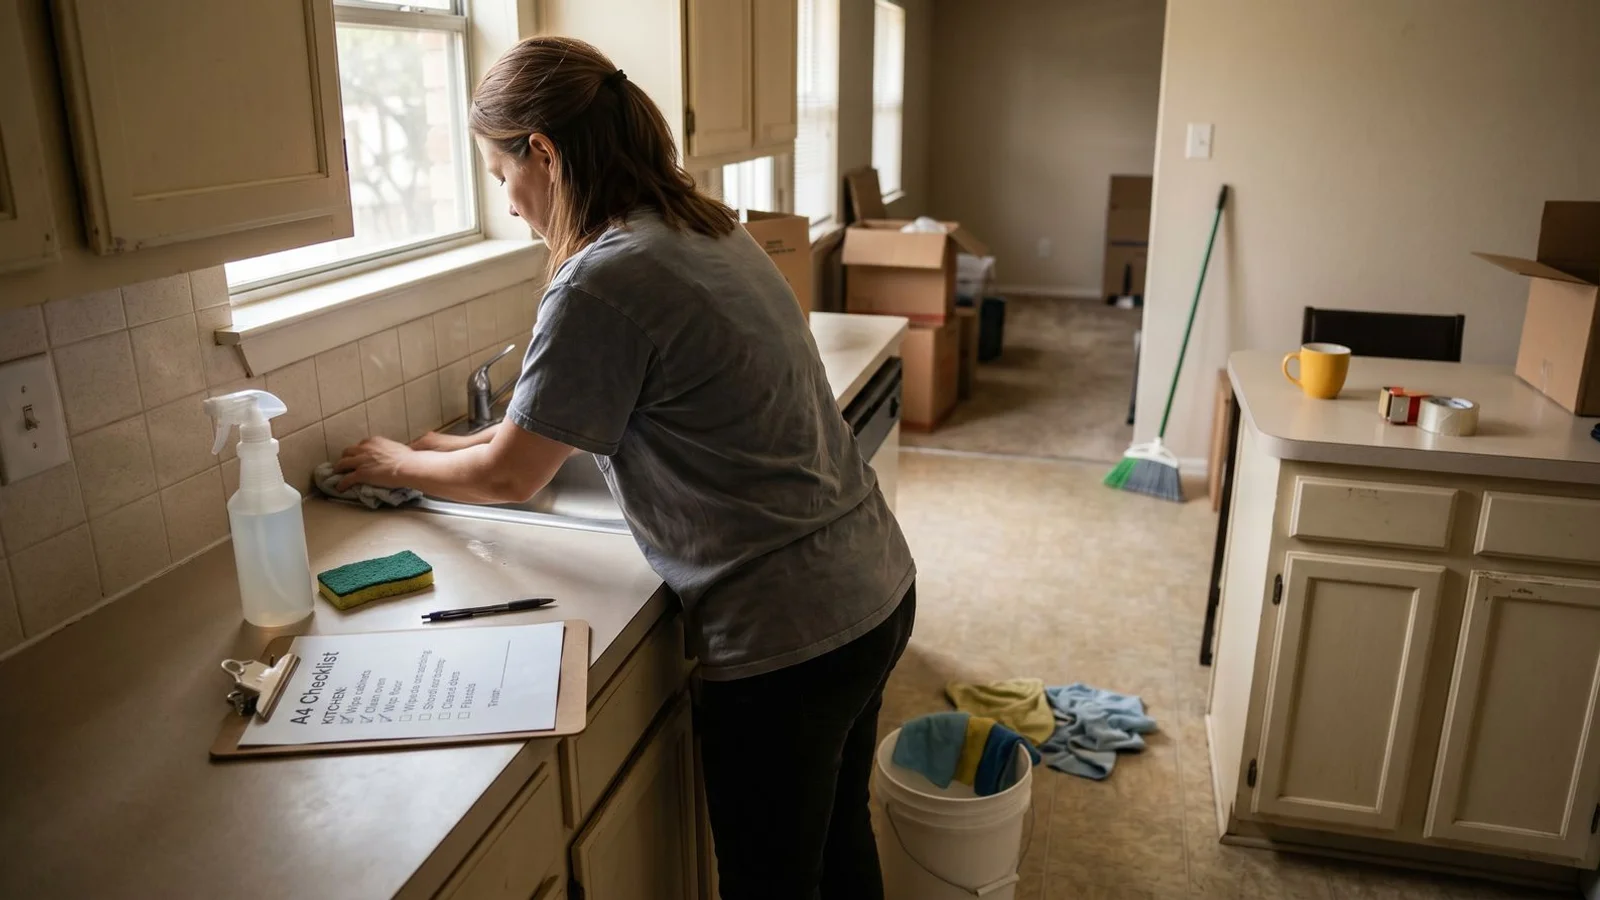
Kitchen (start here, highest stakes)
Start your cleaning session in the kitchen, because this room triggers the most deposit disputes. Landlords scrutinize this space intensely. We always tackle the grease-heavy zones first since they require the most soaking time. In 2025, property managers reported that greasy exhaust hoods and dirty ovens are the leading causes of partial deposit withholding.
Our cleaning technicians know that a structured approach is mandatory here.
High Surfaces
- Light fixtures and ceiling fan blades
- Top of cabinets (use a step stool or ladder)
- Vent above the stove
- Inside the exhaust hood (degrease the filter)
Mid-Level Areas
- Inside every cabinet and drawer (front, sides, back, bottom)
- Pantry shelving
- Inside the oven (apply degreaser to the walls, treat racks separately)
- Inside the refrigerator and freezer (scrub shelves, drawers, and door seals)
- Microwave interior
- Dishwasher interior (clean the filter, door, and jets)
- Exterior of all large appliances
- Counters, backsplash, sink, and faucet
- Cabinet exteriors
Low Areas
- Baseboards
- Floor sweeping, then a thorough mopping
- Edges and corners
Bathrooms
Bathrooms require intense scrubbing to remove mineral buildup and soap scum. Property managers look closely for any remaining hard water spots on glass and fixtures. We rely on acidic cleaners to break down this tough calcification quickly. Hard water stains are primarily calcium carbonate, which standard glass cleaners cannot dissolve.
Our preferred method involves using a paste of Bar Keepers Friend and water. You apply this mixture using a non-abrasive sponge or a piece of super fine steel wool.
High Surfaces
- Light fixtures
- Fan vent dusting
- Top of mirrors and shower glass
Mid-Level Areas
- Cabinet interiors and drawers
- Mirror polish
- Counter and sink
- Toilet (lid, seat, bowl, base, and the hidden area behind it)
- Tub and shower (scrub grout, hard-water spots, fixtures, and glass)
- Tile walls
Low Areas
- Baseboards
- Floor sweep and mop
Bedrooms
Bedrooms primarily require dry dusting, but property managers will check the obscure ledges you might normally ignore. Always check the blinds, as these capture a massive amount of dust and allergens. We find that wiping blinds with a tumble dryer sheet removes the dust while reducing static cling. The average move-out inspection strictly checks each individual slat for greasy gray film.
Our teams systematically circle the room to catch every detail.
- Top of closet shelves
- Closet rods
- Light fixtures and ceiling fan
- Vents
- Blinds (clean slat-by-slat, this is a highly inspected surface)
- Window interiors
- Door frame tops and the very top edge of doors
- Light switches and outlet covers
- All horizontal surfaces wiped
- Mirrors polished
- Floor vacuuming or sweep and mop
- Baseboards
Living areas, hallways, stairs
These high-traffic zones require careful attention to flooring and structural fixtures. Dust settles heavily on stair railings and baseboards in these open spaces. We always double-check the ledges of any remaining built-in shelving. Scuff marks on baseboards are a common reason landlords charge a touch-up painting fee.
Our process ensures these transit areas look pristine.
- Light fixtures and ceiling fans
- Vents
- Top of bookcase shelves (if the unit remains)
- Stair railings (both top and bottom edges)
- Stair treads
- Light switches
- Floor cleaning
- Baseboards
Commonly missed spots that cost deposits
Property managers consistently find specific overlooked areas during their final walkthroughs. Skipping these obscure ledges forces the landlord to hire a cleaner at your expense. We frequently see cleaning companies in 2026 charging between $25 and $50 per hour just to fix these tiny mistakes. A professional eye knows exactly where to look.
Our checklist explicitly targets these common failure points. Adding these items to your moving out cleaning list will save you money.
| Missed Spot | The Problem |
|---|---|
| Vent covers | Fine dust gets packed deeply into the grilles. |
| Ceiling fan blade tops | A thick dust ring is highly visible from below. |
| Blind slats | They capture full dust, requiring more than a quick face wipe. |
| Window tracks | Dirt and dead bugs accumulate in the lower track. |
| Top of door frames | This ledge is rarely seen by tenants but always checked by inspectors. |
| Top of cabinets | Grease and dust form a sticky layer visible from a step stool. |
| Behind toilet | The full base requires thorough sanitation. |
| Refrigerator door seals | Black mold accumulates in the rubber crevices. |
| Inside dishwasher filter | Trapped food debris causes terrible odors. |
| Oven racks | Baked-on grease requires specialized soaking. |
Appliance interior steps
Appliance interiors require dedicated degreasing and sanitization to pass inspection. Each machine needs a specific chemical approach to dissolve burnt food or hard water. We handle these appliances early in the day so the cleaning solutions have time to work. Rushing this step almost guarantees a deduction from your deposit.
Our best results come from letting the products do the heavy lifting.
Oven
Remove the racks completely from the unit. Place the racks inside a heavy-duty trash bag outside, spray them heavily with Method Degreaser or ammonia, and let them soak for several hours. Spray the oven interior with a dedicated cleaner and let it dwell for 15 to 30 minutes. Wipe the inside with multiple passes to remove heavy buildup. Clean the door interior and glass, then replace the dry racks.
Refrigerator
Remove all shelves and drawers from the fridge. Wash these components separately in the kitchen sink with warm soapy water. Wipe down all interior surfaces to remove spills. Clean the rubber door seals carefully, using a cotton swab to dig into the crevices and remove hidden mold. Wipe the exterior shell, and then replace the shelves once they are completely dry.
Microwave
Fill a microwave-safe cup with water and a few lemon slices. Microwave the cup on high for three minutes to create heavy steam. The steam loosens the hardened food splatter, allowing you to wipe the interior easily. Clean the glass turntable in the sink.
Dishwasher
Locate and empty the filter at the bottom of the tub. Soak this filter in a bowl of warm water and white vinegar for 30 minutes to dissolve calcium deposits. Reinstall the filter, then run an empty hot cycle with a cup of white vinegar placed on the top rack. Wipe the door interior and the rubber seals.
Final walk-through prep
Documentation is your only real defense against unfair cleaning charges. You must create a visual record of the home before handing over the keys. We advise all renters to take date-stamped photos of every single room and appliance interior. Landlords in many US states have up to 21 days to send an itemized list of deductions, so keep your evidence handy.
Our clients who document their work rarely face pushback.
- Photo documentation: Photograph every room, every appliance interior, and every major surface.
- Walk-through with the landlord: Be present during the final inspection if possible.
- Receipts ready: Have your professional cleaning receipt ready, especially for carpets.
- Forwarding address confirmed: Provide your new address in writing to receive your check.
- Keys returned: Get a signed and dated receipt when you hand over the keys.
Average professional carpet cleaning costs hover around $360 in 2026. A DIY machine rental receipt will often be rejected by landlords if the lease specifically mandates a professional service. We see property managers legally deduct higher contractor rates if the tenant fails to provide a valid company receipt. Read your lease terms carefully.
When DIY makes sense and when it does not
Doing the work yourself is a great option for small apartments in good condition. Tenants who maintained the unit well can usually handle the final scrub. We recommend the DIY route if you have the physical capacity and 6 to 10 hours of free time. Attempting this on a tight schedule often leads to exhaustion and poor results.
Our services are best utilized when the job exceeds a tenant’s available bandwidth. You can easily save this page and use it as a printable move out checklist to keep yourself organized.
DIY move-out cleaning works for:
- Small apartments (studios or 1-bedroom units)
- Tenants in good condition who took excellent care of the unit
- Tenants with ample time and physical stamina
DIY does not work for:
- Tight timelines (movers running late, same-day inspection)
- Heavy condition issues (pet damage, smoking residue, post-renovation dust)
- Carpet requirements (leases that demand a professional receipt)
- Tenants who absolutely cannot risk a deposit deduction
For DIY tenants who run out of time, hire a professional for the kitchen and bathrooms specifically, the highest-deduction rooms, and DIY the rest.
For deposit-recovery details, see how to get your security deposit back with move-out cleaning. For time estimates, see how long does a move-out cleaning take.
Get a free move-out quote for same-day availability for tight windows.
Related service
Need Move Clean in San Antonio?
Vacancy cleaning to property-manager standards — cabinets, drawers, ovens, refrigerators, baseboards. Built to pass inspection and recover your deposit.